If you offer products or services on your WordPress website, then it’s important to try to capture customer leads. One of the most effective ways to do this is with a popup or similar Call-to-Action (CTA for short).
CTAs are often used to help build an email list, which you can then use to communicate all kinds of product or service offerings. Since you’re using self-hosted WordPress, you already know how easy it is to add practically any kind of functionality you want to your website.
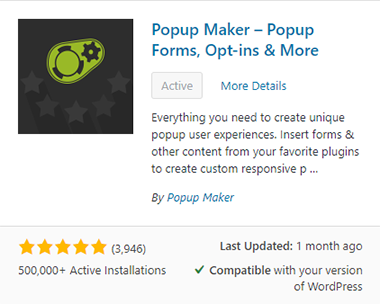
This goes for Calls-to-Action as well. I use and highly recommend Popup Maker, a free WordPress plugin (there is also a premium version) with over 500,000 installations.
In this step-by-step guide, I will show you how to add a Call-to-Action to your WordPress website for free using the Popup Maker plugin.
If you’re looking for quality shared hosting for your WordPress website, we highly recommend A2 Hosting. They offer unlimited SSD space, free automatic site backups, hosting optimized for speed and 24/7/365 guru technical support.
Things to consider before you get started
Before you decide to add a Call-to-Action to your website, you’ll want to take a moment and think about what you want to use it for.
Do you want to offer:
- a free download or consultation
- a product or service discount
- limited time special or promotional offer
Once you figure out how you’re going to use a CTA on your website, you can install and activate the Popup Maker plugin.
Please note: You can create and use multiple CTAs and display them on relevant pages and/or blog posts.
Installing the Popup Maker plugin
Now that you’ve thought about how and why you want to use a Call-to-Action, you’re ready to install the Popup Maker plugin. We’ll start with the free version, but it’s possible you may want the added functionality in the premium version.
In your WordPress dashboard, go to Plugins > Add New in the left sidebar. Search for Popup Maker, and click the Install button.
Once the installer does its thing, go ahead and click on the Activate button.
Now, you’re ready to create your first CTA.
Creating a Call-to-Action with Popup Maker
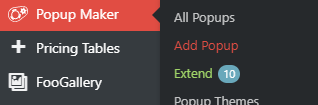
In the left sidebar of your WordPress dashboard, go to Popup Maker > Add Popup.
IMPORTANT: As you set up your popup, make sure to hit Save Draft from time to time so you don’t lose your work if your connection goes down.
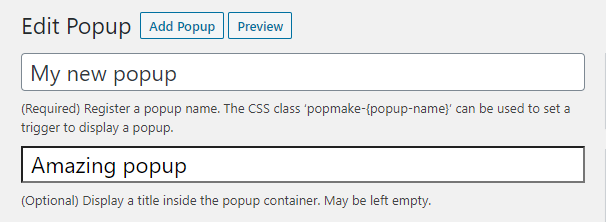
Give your new popup a name, which can be used as a CSS class to trigger the display of your popup.
Next, enter a title which will appear at the top of your popup on the front end.
Then, enter some content for your popup in the editor. This can include an intro to urge your reader to sign up for your list (or whatever action you want them to take), as well as a button to redirect them to a form (or another page).
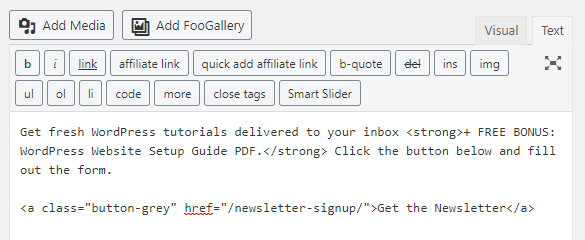
With the free plugin, you can’t add fields to your popup, so I recommend adding some text and a button that sends them to a page where they can easily subscribe.
What I do: On my site, I use two different popups depending on the content the user is viewing. I use my WordPress web design offer popup on my homepage, and my newsletter subscribe popup on my blog page and individual posts.
Popup Settings
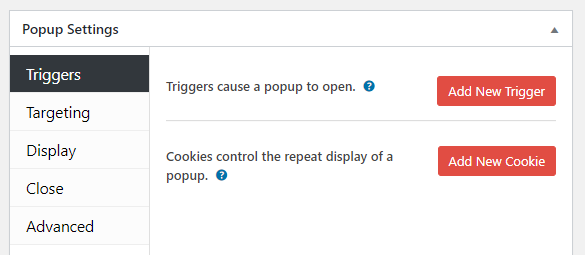
After you add some content to your popup, you will need to configure it by going to the Popup Settings box below the content area.
Triggers
In the Triggers section, you can select which triggers you’d like to use to open your popup. With the free version of Popup Maker, you can choose from the following:
- Click Open – Use a clickable link with a particular CSS class.
- Time Delay / Auto Open – Specify an amount of time in milliseconds.
- Form Submission – Open popup after successful form submission.
Select the trigger you’re like to use, and check the box next to “Would you like to set up a cookie as well?”
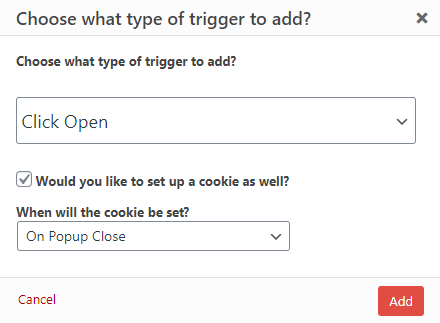
Then, from the dropdown, select when the cookie will be set. You choose from the following conditions for your cookie:
- On Popup Close
- On Popup Open
- Form Submission
- Subscription Form: Successful
- Subscription Form: Already Subscribed
- Manual
Using cookies, you can make sure that a single popup won’t be shown to someone multiple times (unless he/she clears browser cache/history or opens your site in a private browsing window).
Targeting
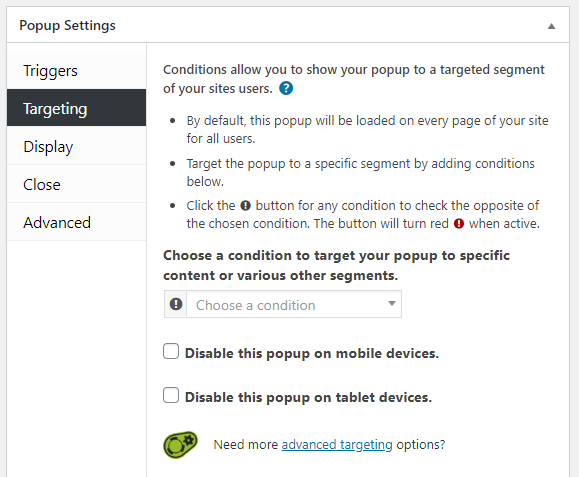
In this section, you can choose conditions that let you show your popup on certain pages, posts, category and tag pages, etc.
You can also selectively exclude it from certain parts of your site, and disable the popup on mobile devices and tablets.
Check out the premium version of the plugin for more advanced targeting conditions, including Exit Intent and Scroll Triggered Popups.
Display
In the Display tab, you can completely customize the look and location of your popup, and even add animation and sound to it.
Display Presets
- Center Popup
- Right Bottom Slide-in
- Top Bar
- Left Bottom Notice
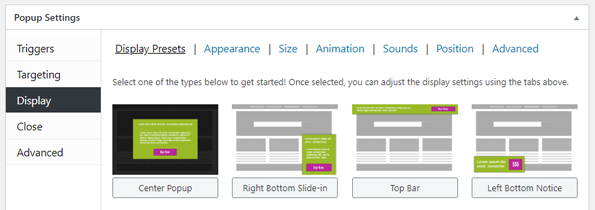
Once you’ve chosen your desired popup location, you can further adjust the appearance by configuring settings in the other tabs.
Appearance
Here you can select the theme you’d like to use. There are 6 themes to choose from and they can all be customized to fit your needs and taste.
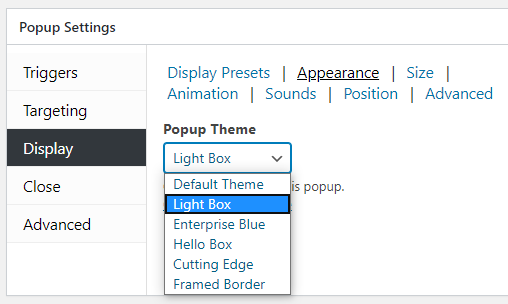
- Default Theme
- Light Box
- Enterprise Blue
- Hello Box
- Cutting Edge
- Framed Border
To start, choose a theme and check out the preview in the upper right corner of the edit screen. Then, you can click the Customize This Theme link and adjust it however you’d like. Make sure to save your changes.
Size
In this tab, you can set the size for your popup, and also specify minimum and maximum widths. Under the Size dropdown, choose one of the responsive sizes. Alternatively, you can use Auto or Custom if you’d like.
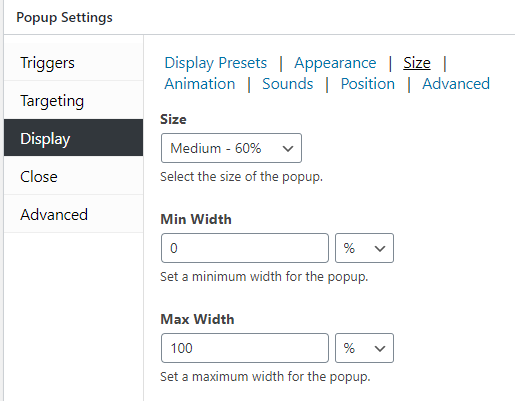
Enter a minimum width in px, %, em or rem. To keep things simple, I use a minimum pixel value about the width of a smartphone screen.
For maximum width, I also specify a pixel value, and just set it to a width that looks good. This varies depending on the popup theme you’ve chosen and the amount and size of content in it.
PRO TIP: Play around with the formatting and size until you find something that you’re happy with.
Animation
Here, you can choose to add animation to your popup. From the dropdown, you can select None, Slide, Fade or Fade and Slide.
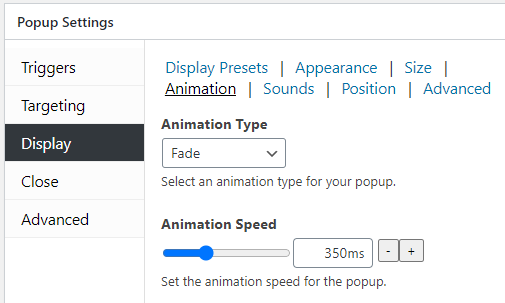
Then, you can specify a speed for your animation in milliseconds.
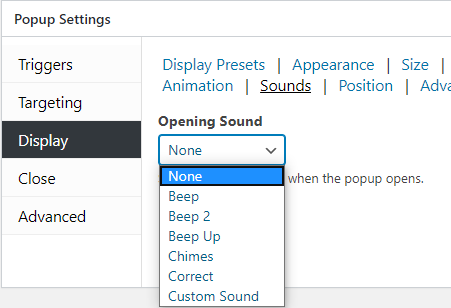
Sounds
You can choose from 5 sound presets for your popup, and even use a custom sound by specifying the URL to a sound file.
Position
From the Location dropdown, you can specify where you want the popup to appear. You can choose from the following:
- Top Left
- Top Center
- Top Right
- Middle Left
- Middle Center
- Middle Right
- Bottom Left
- Bottom Center
- Bottom Right
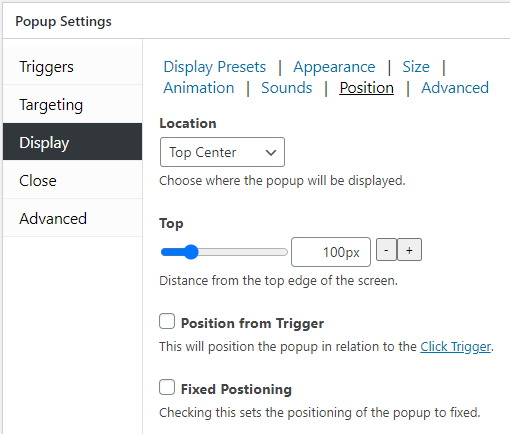
For all the choices except Middle Center, you can further fine-tune the position by using the sliders that appear below the dropdown. They let you set the distance in pixels from either the top, bottom, left or right of the browser window.
Position from Trigger – If you’re using a click trigger for your popup, you can check this box to set the distance in relation to that clickable link.
Fixed Positioning – Checking this box will set the positioning of your popup to a fixed spot.
Advanced
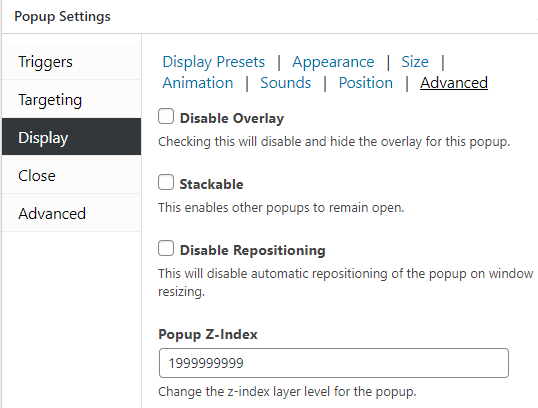
Disable Overlay – If you select this, it will hide the overlay for this popup. The overlay helps make your popup even more visible by either dimming or brightening the background based on whether you’re using a dark or light popup.
Stackable – If you make the popup stackable, other popups below or above it will remain open.
Disable Repositioning – By checking this box, you will disable the automatic re-positioning of the popup when the browser window is re-sized.
Popup Z-Index – This is a CSS property that affects the stack order of your popup. You want your popup to have a high stack order so that it always appears on top of all your other site content. The default is 1999999999, which is more than enough to make sure that your popup is always on the top of everything.
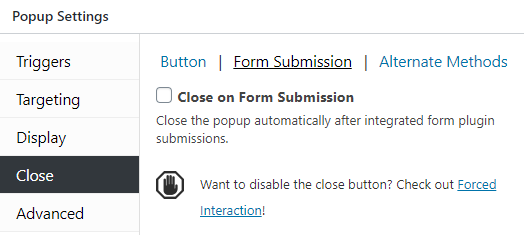
Close
Button – In this tab, you can choose text or a symbol to use for a Close link on your popup and add a delay for the appearance of the Close Button.
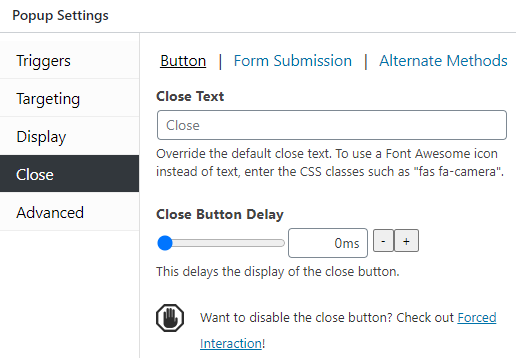
Close Text – I generally use an X, but you can choose whatever you’d like. You can also use a Font Awesome icon instead of text if you so choose by entering its CSS class (e.g. “fas fa-camera”).
Close Button Delay – If you’d like to delay the display of your Close Button, you can specify a time in milliseconds.
PLEASE NOTE: You can disable the close button completely using the premium Forced Interaction extension.
Form Submission – Check this box if you’d like the popup to automatically be closed after a successful integrated form submission.
Alternate Methods
Here, you can enable some additional methods for closing the popup.
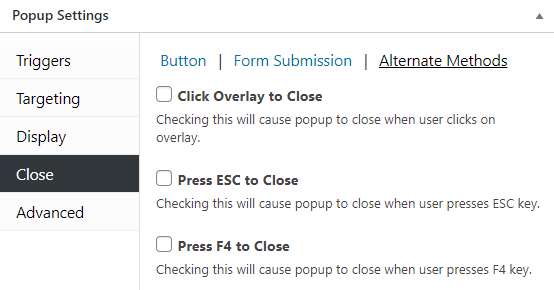
Click Overlay to Close – If you check this box, it will make the popup close when a user clicks on the overlay background.
Press ESC to Close – Add the option to let a user close the popup by hitting the ESC key on their keyboard.
Press F4 to Close – Similar to the option above, this will let a user close the popup by hitting the F4 key.
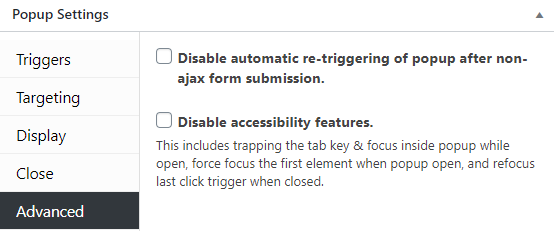
Advanced
In this area, there are two checkboxes:
Disable automatic re-triggering of popup after non-ajax form submission – If you’re using a non-ajax form to collect information, you will want to check this box to disable the re-triggering of the popup.
Disable accessibility features – By checking this box, you will disable the ability for users to tap the tab key to move from field to field. It forces focus on the first element when the popup is opened, and refocuses the last click trigger when closed.
Once you’re finished adding all content and configuring all options for your new popup, you’re ready to publish it. Hit the Publish button and give yourself a pat on the back.
Caching plugin issues
As you may have noticed in my other tutorials, I recommend using a caching plugin to help optimize your WordPress website. While a caching plugin is a must-have for your site, it can cause some issues with the appearance and functionality of your popup (among other items).
How I discovered this issue: When I added a popup to one of my Dad’s websites, it worked initially. Then, I enabled Javascript minification within the SG Optimizer caching plugin (only available for sites hosted with SiteGround… but don’t use them because they’re terrible now), and it prevented the popup from opening at all. It would just make the current page completely freeze (scroll bar disappeared, couldn’t do anything). Unfortunately, within SG Optimizer there is no way to exclude the Popup Maker javascript from minification. It could definitely be excluded in functions.php, but I have yet to find the code for that. I just turned off the javascript minification to fix the problem.
Conclusion
Creating a quality Call-to-Action is vital if you’re looking to get leads through your WordPress website. Popup Maker lets you easily create a CTA in just a few steps. While it may take a little while to get it configured as per your needs, I hope this tutorial helps you out.
Did I miss anything? I strive to make my tutorials as helpful as possible, but feel free to let me know how I could make it better. If you have questions or need help, please leave a comment and I’ll try my best to point you in the right direction.
If you found this post helpful, please share it and spread the word!
Want more like this? Sign up for my newsletter to receive helpful WordPress Tutorials, Tips and Tricks.


If you create a text link as a popup trigger, how do you code the text link to open the popup?
By adding a click open trigger on the selected Popup Maker popup, then adding the relevant css selector to the link. Hope that helps!