Are you looking to create an online course on your WordPress site? Learning online is super popular at the moment, and for good reason. With online courses, you can earn money by sharing your unique knowledge and expertise. Once you find subject matter that is in demand, you can easily scale your online course.
In this comprehensive, step-by-step tutorial, I will show you how to create your very own online course using WordPress in conjunction with the free* LearnPress plugin.
* While the core plugin is free, there are premium add-ons that range in price from $29 to $49. There are also add-on bundles that cost around $250 (check current pricing).
If you’re looking for quality shared hosting for your WordPress website, we highly recommend A2 Hosting. They offer unlimited SSD space, free automatic site backups, hosting optimized for speed and 24/7/365 guru technical support.
Things you need to get started
You will need a few things in order to create your online course, including a domain name, web hosting and a LMS (Learning Management System) plugin. For the purposes of this tutorial, we’ll be using LearnPress.
Registering a domain name
The very first thing you’ll need is a domain name (e.g. yoursite.com). As far as domain name registrars go, GoDaddy and NameCheap are good choices.
When choosing a domain name, there are a few things you should keep in mind:
- Keep it relatively short.
- It should be easy to type and pronounce.
- Try to use keywords in a natural fashion.
- Don’t include hyphens or numbers.
- Make it brandable as opposed to generic.
Buying web hosting
Since we’re talking about the self-hosted version of WordPress, you’ll need to find web hosting. A web host simply provides you with space on a computer server that is connected to the internet.
You’re just starting your website, so shared hosting will be sufficient. If your site traffic grows significantly, you can always upgrade your hosting plan later.
As a new customer, you will receive a 50% discount on your first purchase. It’s wise to take advantage of this, so sign up and prepay for 36 months.
WARNING: Please do yourself a favor and DON’T listen to the jerks who recommend BlueHost. They are doing you a great disservice by recommending a crappy product. They intentionally mislead people because they receive generous affiliate commissions.
While they used to offer great service, they’ve sucked ever since being acquired by EIG. Make sure you avoid all hosting companies owned by EIG. UPDATE: Don’t use SiteGround either because they suck now!
Setting up self-hosted WordPress
Once you’ve registered a domain name and purchased web hosting, you’ll need to setup your self-hosted WordPress site. With most hosts, this is a super simple process, and you can have WordPress installed with just a few clicks using Softaculous in cPanel. Refer to the link above for step-by-step instructions to get WordPress installed.
Installing and configuring LearnPress
LearnPress is widely considered the best free LMS plugin for WordPress. As an all-in-one solution, it has built-in course management, quizzes, lesson plans, assignments, course progress and much more.
Let’s get started, shall we?
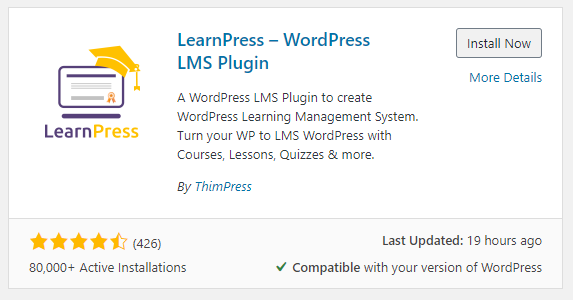
LearnPress is listed in the WordPress plugin repository, so you can install it from within your dashboard.
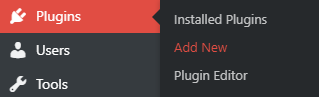
1. In the left sidebar, go to Plugins > Add New. Find LearnPress, then install and activate it.
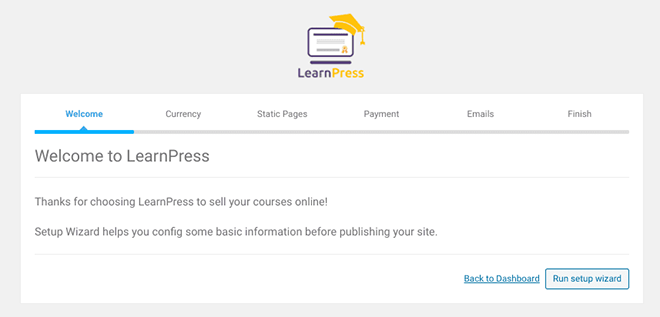
2. Once you install and activate LearnPress, you’ll see a notification box.
3. Next, click the Run setup wizard button. While you don’t have to run the wizard, it is highly recommended to avoid missing any important features or settings.

4. On the Welcome tab, click the Run setup wizard button again.
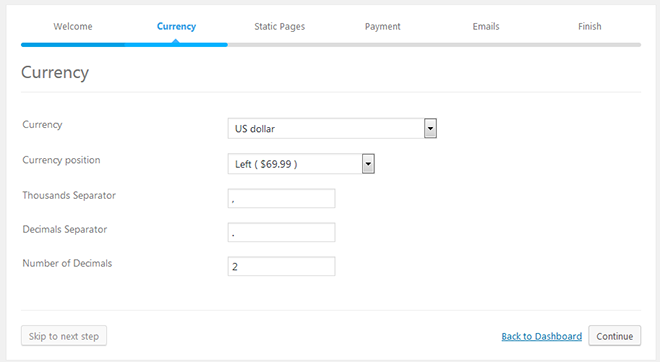
5. Currency – Here you will choose the currency you want to accept and set the formatting for how it’s displayed: Currency Position, Thousands Separator, Decimals Separator and Number of Decimals. Configure it how you’d like and click the Continue button.
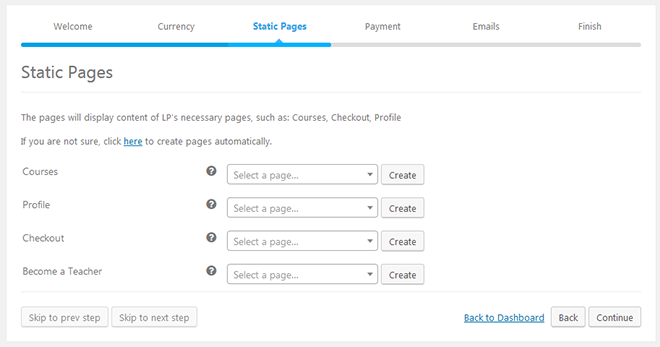
6. Static Pages – In this section, you’ll create the pages for important parts of your LMS website, including:
- Courses
- Profile
- Checkout
- Become a Teacher
You can create all of the pages automatically by clicking the here link near the top, or create them one by one using the Create buttons next to each page dropdown. You may not want to create all the pages, and you can skip any that you don’t need.
While you’ll likely using the default titles, you can change them if you’d like. Click the Create button and adjust the title if need be. Make sure to click Ok to save the pages as you go.
When you’re done, click the Continue button.
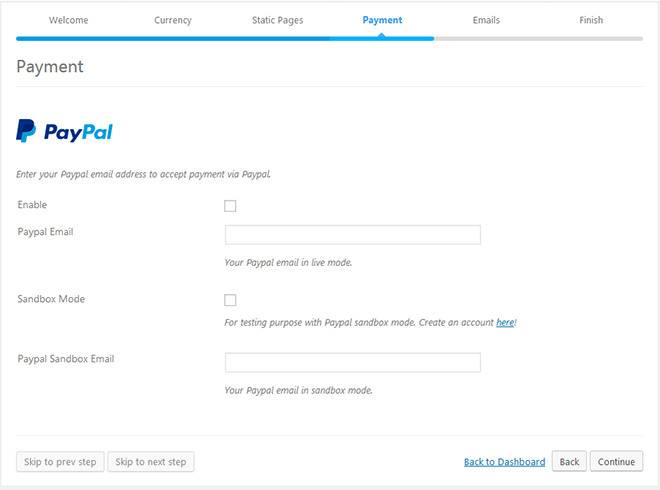
7. Payment – In this area, you can enter your email address associated with PayPal. This lets you accept payments without having an active shopping cart. Simply check the box next to Enable and enter your PayPal account email address. Then, click the Continue button.
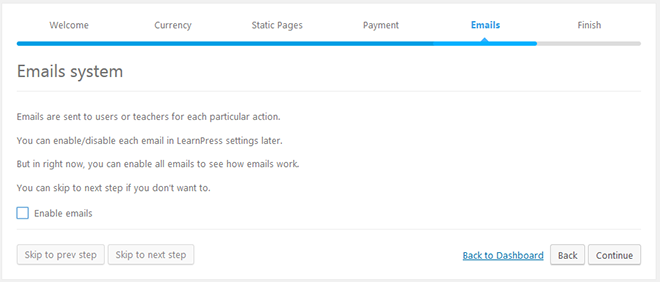
8. Emails – Here, you can choose to automatically enable all emails that are sent to both teachers and students. It is a good idea to check the box so you don’t forget to send out important emails in the future. If need be, you can enable or disable emails later within LearnPress settings. Once again, click Continue when you’re finished.
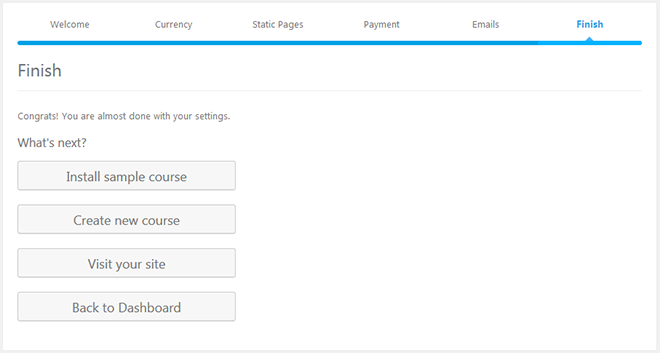
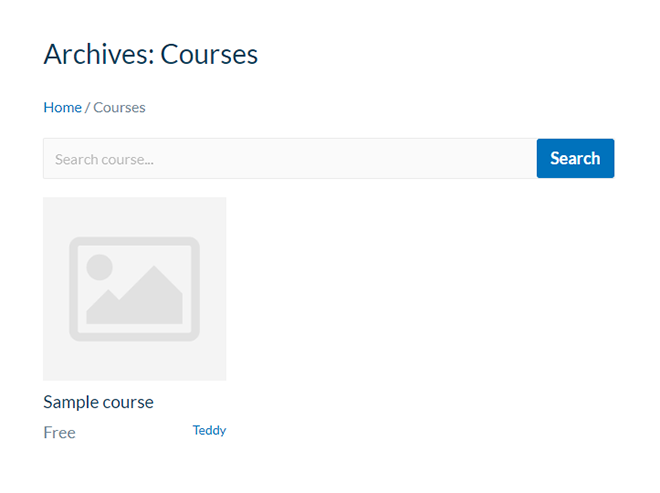
9. Finish – In this tab, there are a few important buttons, including Install sample course and Create new course. I recommend installing a sample course so you can get a feel what the courses will look like. Click the button, and then take a look at the front end of your site.
The format of your course depends largely on the WordPress theme you’ve chosen for your site. If you take a look at your site, you’ll see Overview, Curriculum and Instructor.
Creating your first online course
After playing around with and previewing the sample course you created, you’re ready to add a real online course to your site.
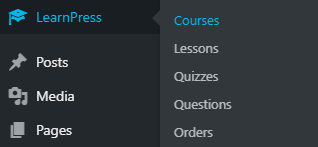
In your WordPress dashboard, go to LearnPress > Courses in the left sidebar.
Click on the Add New button at the top.

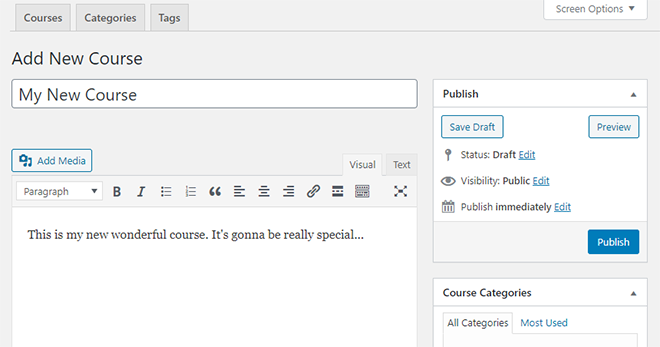
The next page looks almost identical to the old, non-Gutenberg WordPress editor for posts and pages, so it’s pretty straightforward for anyone who is familiar with WordPress.
1. Enter the name of your course, as well as a description for it. You can also create a course category if you plan on having multiple courses on a given topic.
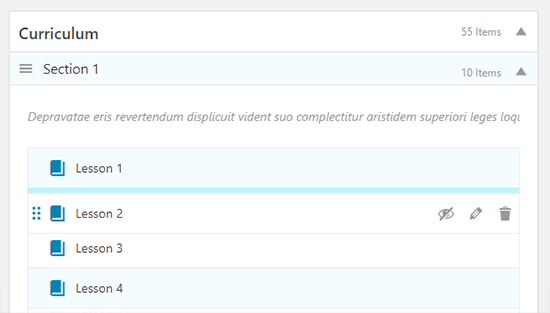
2. Scroll down until you get to Curriculum, where you can add both sections and lessons to your online course.
Enter a name for your section.

You can think of sections as chapters or parts of your course. Lessons, on the other hand, are where you put all the content for each section.
Using the Select items button, you can connect quizzes and other lessons if you’d like.
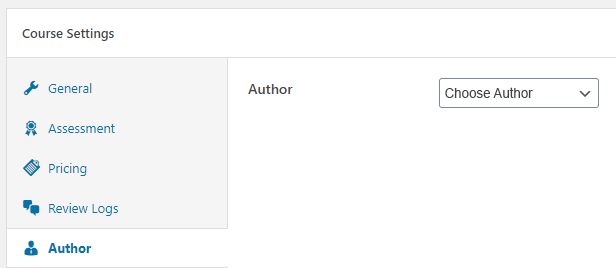
3. Find the Course Settings below the Curriculum box. It contains 5 tabs:
- General
- Assessment
- Pricing
- Review Logs
- Author
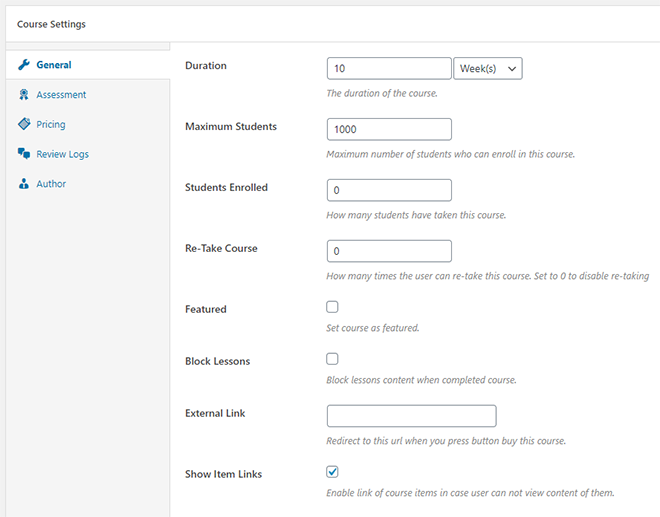
4. General – In this tab, you can configure the following items:
- Duration
- Maximum number of students
- How many people have taken this course
- Enable whether you’ll let users re-take your course
- If the course is featured or not
- Optionally block lesson content upon course completion
- Set an external link to redirect users when they click the buy button
- Enable course item links if a user cannot view them
5. Assessment – Here you can set how you’d like to evaluate the students. You can choose from the following options:
- Evaluate via lessons
- Evaluate via results of the final quiz
- Evaluate via results of quizzes
- Evaluate via results of quizzes passed
- Evaluate via quizzes
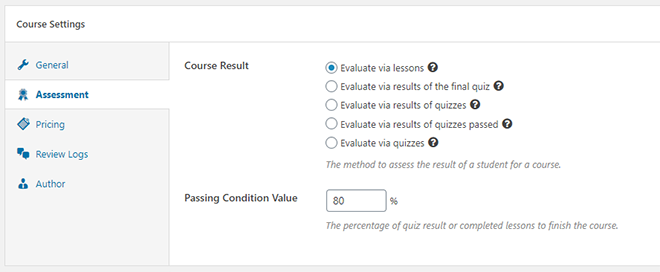
In addition, you can set a percentage for quizzes passed or completed lessons in order for students to complete the course.
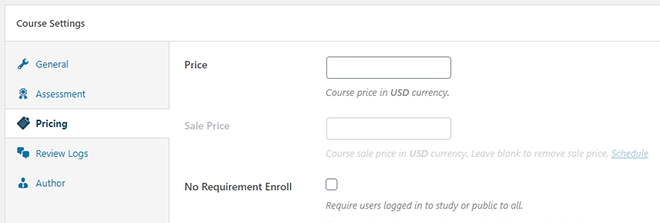
6. Pricing – Set the price for your course, and optionally a sale price too. To disable the sale price, simply leave it blank.
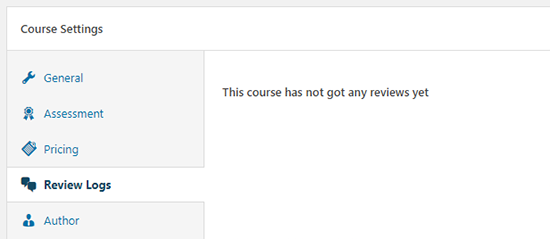
7. Review logs – In this tab, you can moderate any course reviews you’ve received.
8. Author – Enter the name of the course instructor here. Please note that you may need to create a WordPress user when adding a new instructor.
Adding lessons and quizzes
Now that you’ve taken care of the basic configuration, you’re ready to add some course content.
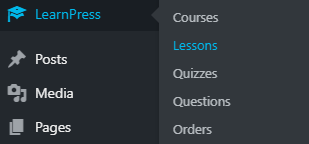
In the left sidebar of your WordPress dashboard, go to LearnPress > Lessons.
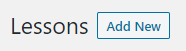
Click the Add New button at the top of the next screen.
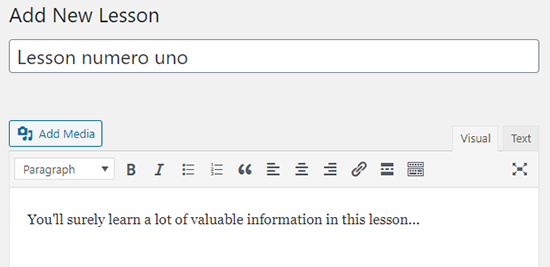
This page also looks a lot like the basic WordPress editor, and you can add all sorts of elements to your lesson, including text, images, video, audio and PDF documents. First, give your lesson a name.
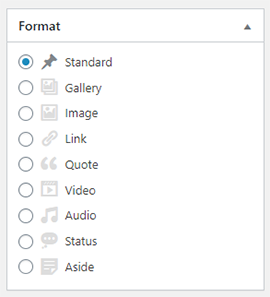
Feel free to play around with the different lesson formats, and visually layout your lesson similar to how you would with a blog post. In most cases, the default Standard format will work fine for whatever you need.
Insert images, embedded videos, and other media items in between text and make sure the lesson flows nicely and is easy to read.
PRO TIP: Avoid large blocks of text, and keep paragraphs short (maximum 5 lines or so). Use an assortment of web-optimized images to break up text so that your content is easy to digest.
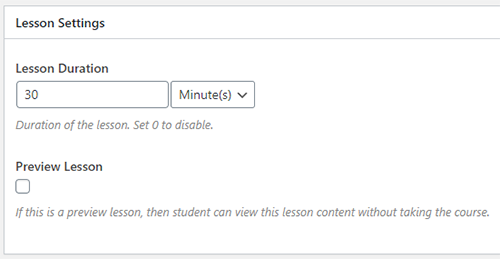
Default settings for most other items in the editor should be fine, but you want to make sure you uncheck the Preview Lesson checkbox. You would only leave it checked if you want people to be able to preview the lesson content without signing up for the course. This can be helpful for marketing purposes, but it depends on your specific strategy and needs.
Now that you’ve learned how to add lessons to your online course, let’s take a look at adding quizzes.
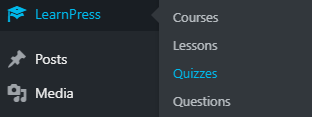
In your WordPress dashboard, go to LearnPress > Quizzes in the left sidebar.
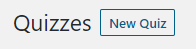
Click the Add New button at the top of the next screen.
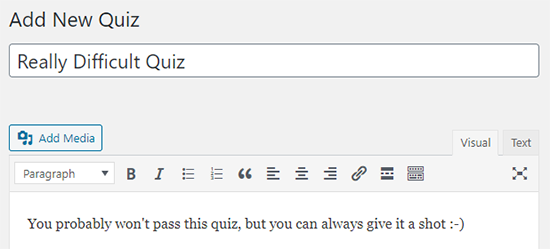
Next, give your quiz a name and enter any relevant instructions.
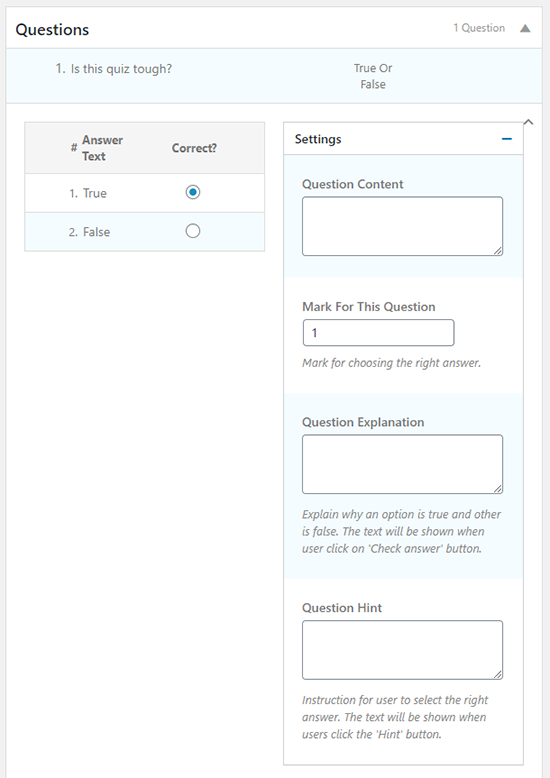
Then, you can add as many questions (and answers) as you’d like, with the option to choose from true/false or multiple choice formats.
Once you’ve added all of your quiz questions, you can specify General Settings for the quiz.
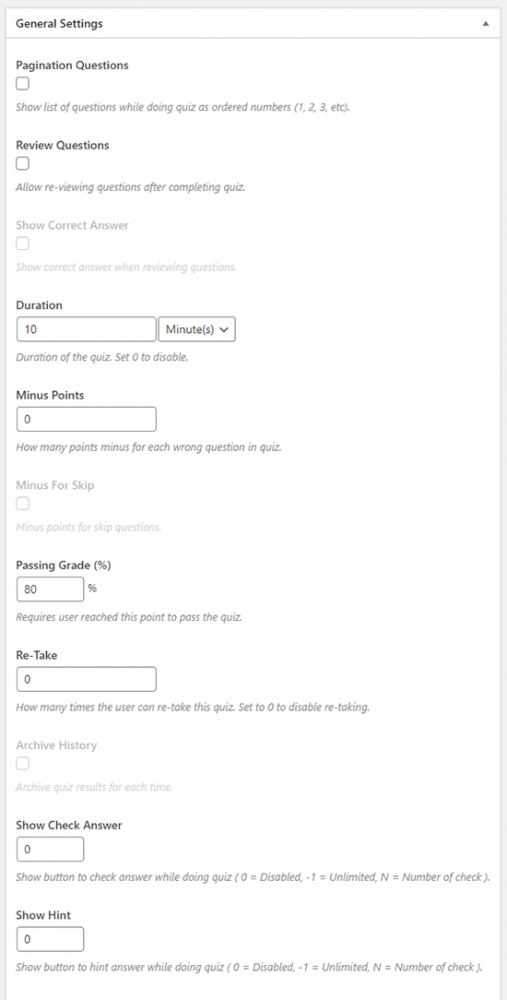
Here, you can set options for the following:
- Pagination Questions – Choose whether to display questions as an ordered list.
- Review Questions – Select whether students should be able to view questions again after completing the quiz.
- Show Correct Answer – Show the correct answer when reviewing questions.
- Duration – Set the duration of the quiz. Enter 0 to disable the duration completely.
- Minus Points – Specify how many (if any) points are deducted for each incorrect answer.
- Minus For Skip – Choose whether to deduct points for skipped questions.
- Passing Grade (%) – Enter a minimum percentage for a passing grade.
- Re-Take – Let students re-take the quiz or not.
- Show Check Answer – Show a button to let students check the answer while taking the quiz.
- Show Hint – Add a button to show students a hint or not.
Linking lessons and quizzes to the proper courses
Once you’ve created some lessons and/or quizzes, you’ll need to link them to the proper courses.
Go to LearnPress > Courses.
Scroll down until you get to the Curriculum section, then locate the Section where you want to add lessons and/or quizzes.
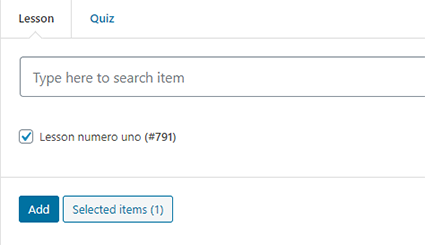
Click the Select items button.

Choose between the Lesson and Quiz tabs, then locate either the lesson or quiz you wish to add to your course. Finally, click the Add button.
Once you’ve added all lessons and/or quizzes to a given course, you can easily rearrange and organize them as you wish. Simply click the dots on the left of the item you wish to move, then drag it wherever you want.
Once you’ve added all lessons and quizzes to your course, make sure you hit the Update button to save all your changes.
Conclusion
Creating an online course is not as complicated as you would think? While there are a few steps to getting it set up correctly, it’s not that tough if you simply follow instructions. Hopefully, this tutorial has helped you to create your very own online course using WordPress and LearnPress.
Did I miss anything? I aim to make my WordPress guides as thorough as possible, so feel free to reach out and let me know how I can improve it. If you have any questions or need some help, please leave a comment below.
If you found this post helpful, please share it and spread the word!
Want more like this? Sign up for my newsletter to receive helpful WordPress Tutorials, Tips and Tricks.


Is there any work around to being limited to assigning lessons to only one course? My courses use various pdf’s to multiple courses I teach.
Thank you for this very good tutorial. I am new to LearnPress but do have it all set up and am attempting to add courses. Following the Linking Lessons and/or Quizzes instructions, I cannot get my site to show up any lessons to select. I added lessons for the course created, but they ended up randomly placed and do not show up in my select tab. What step might I be missing?
I added each lesson as a separate section vs how you show with all lessons in the Section One. Does that make a difference?
Hi Dani,
I am glad you found my tutorial useful! I am not totally sure what step you might be missing, but maybe try going through the tutorial again to make sure you didn’t skip a step. I also don’t know if having each lesson as a separate section vs. how I showed it would make a difference.
Thank you so very much for replying. I did google this and see that you can only assign lessons or quizzes to one course and not multiple. Ugh. I did read through the tutorial again and doesn’t seem I missed anything.
You can duplicate lessons, which is probably a partial solution to your problem but creates maintenance redundancy. HTH.
Hi there…please send a link or tell me how to make my youtube videos display responsive in LearnPress mobile view. I have an Epora theme. The video displays are too large for the frame. Thank you.
Hi, I’m not sure why your embedded YouTube videos are not responsive on mobile view of your site. Best would be to try googling it. Hope that helps!