A contact form is a must for any WordPress website. It allows your visitors to reach you easily, and can provide you with valuable information about them. Of course you could publish your email address on your site, but that would lead to a good amount of spam in your inbox. Contact Form 7 is a popular plugin that I have used on numerous websites.
It is easy to configure, has a lot of available integrations and even includes a built-in autoresponder. In this tutorial, you will learn how to set up form fields, format the incoming email, and configure an autoresponder too.
If you’re looking for quality shared hosting for your WordPress website, we highly recommend A2 Hosting. They offer unlimited SSD space, free automatic site backups, hosting optimized for speed and 24/7/365 guru technical support.
Let’s get started, shall we?
Contact Form 7 features
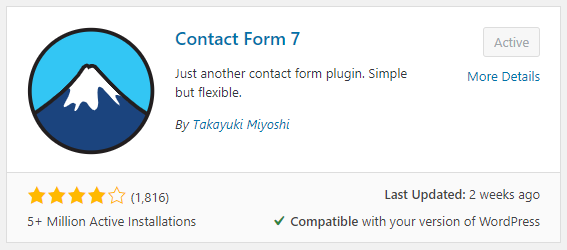
With 5 million + active installations, Contact Form 7 is a super popular plugin used the world over.
With it, you can do the following:
- Create and manage numerous contact forms.
- Quickly customize form fields.
- Easily adjust the email template to fit your needs.
- Insert a form on posts and/or pages.
- Effectively stop spam submissions with Akismet, Ajax and ReCAPTCHA by Google.
- Set up an HTML autoresponder.
- Add extra functionality with a wide array of 3rd-party extensions.
Yes, you can do all of that for FREE!
Now that you know a little about what you can do with Contact Form 7, let’s go over installing and configuring it on your WordPress website.
Installing Contact Form 7
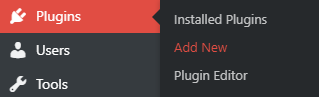
To get started, you need to install the Contact Form 7 plugin. Simply go to Plugins in the left sidebar of your WordPress dashboard, then click Add New in the flyout menu.
Enter Contact Form 7 in the search box. Then click on the Install button in the plugin box. Once it’s done installing, click the Activate button.
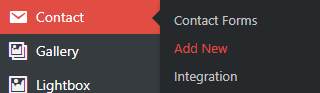
Once you’ve activated the plugin, you’ll see a new link in your WordPress dashboard sidebar called Contact. Here, you can see existing contact forms, add a new one or integrate with other 3rd-party tools.
Creating a contact form
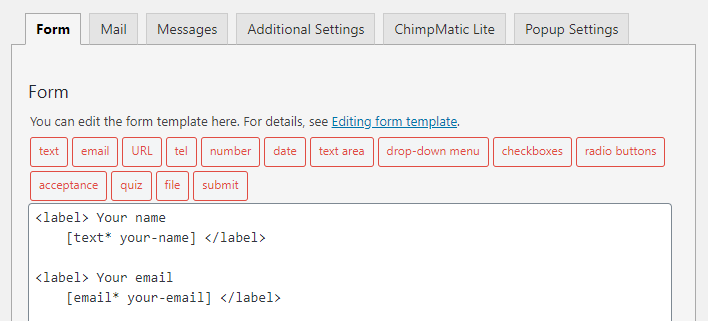
Go to Contact > Contact Forms in the left sidebar. You will see the default form called Contact Form 1, which you can simply rename and edit to fit your needs.
By default, a new form includes the following fields:
- Name
- Subject
- Message
- Send button
If you’d like to add extra fields, you can do so easily by clicking the tag generator button for the form tag you’d like to create (e.g. text, email, url, tel, etc.).
In this example, we’re going to add a form tag for a single line plain text input field (one of the most common fields you’d use in a contact form).
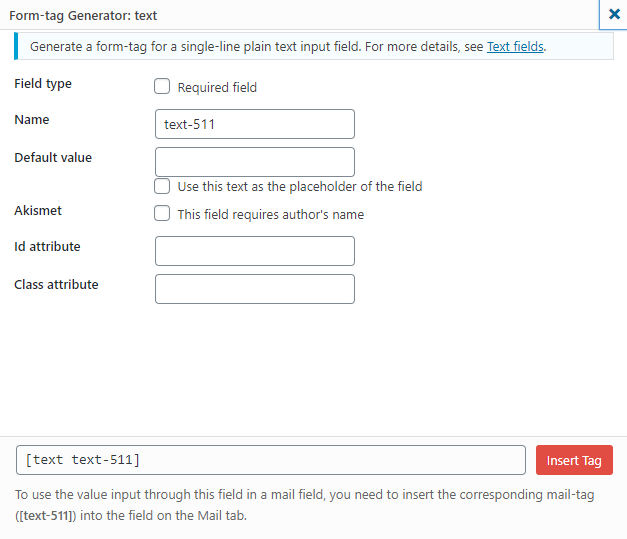
If you want this new field to be required, check the box at the top. Giving the field a name will help you later when you’re configuring the email that will be sent upon successful form submission. Choose something that will help you easily identify the field later.
You can enter a default value, and also use this as the placeholder for the field.
If you’d like to customize the appearance of this form field with CSS, you can give it an ID or Class attribute.
Once you’ve configured your new form field, click the Insert Tag button.
After you’ve added the form tag, you’ll likely want to label it somehow. While you can use the placeholder text mentioned in the previous step as the label within the field, you can also add an HTML label outside of the field like in the example below.
<label> Subject
    [text* your-subject] </label>
Simply adjust the field to include the opening and closing label tags as seen above. With checkboxes and radio buttons, you cannot wrap the form fields in a label tag and instead must enter it like this:
<label> Choose one </label>
[checkbox checkbox-369 use_label_element "yes" "no" "maybe"]
Once you’re comfortable adding fields to your contact form, think about which information you’d like to get from people and add all the necessary fields.
Setting up the mail tab for email notifications
Now that you’ve created all the fields you’d like to include in your contact form, you’re ready to set up the email template that you will receive upon successful form submission.
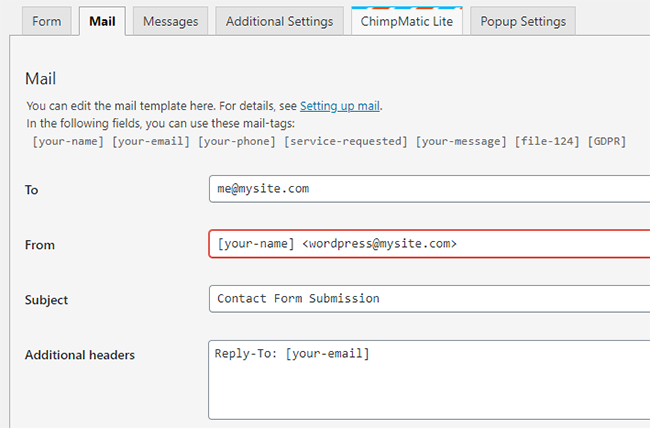
First, you will need to configure the following:
- To – Enter the email address where you’d like to receive incoming form submissions.
- From – In this field, you can typically use “[email protected]”
- Subject – Enter the subject for the email. In many cases, you can simply write “site name contact form submission.”
- Additional headers – Here, you should include a Reply-To address (just use the email address shortcode you used in the form), and can also add Cc and Bcc fields if you’d like the email to be sent to multiple people.
Once you have the email details set up, you’re ready to proceed to the email body and file attachments (if you let people upload files to your form).
I prefer to use some <strong> html tags to make incoming contact form submission emails a little easier to read, but you don’t have to.

Simply make sure that all the tags you used in your form are present in the Message body, and any tags for attachments are in the File attachments field.
Once you’ve set it all up, go to your contact form on the front end and submit a test. If you like how the submission looks in your email, leave it as is. If not, adjust it to suit your needs.
Setting up an autoresponder
If you scroll down a little bit on the Mail tab, you will see Mail (2). Check that box to enable this additional mail template which is often used as an autoresponder.

Once you check the box, you’ll see the same fields as in the first mail section above. You will want to configure this area a little differently if you’re going to use it as an autoresponder.
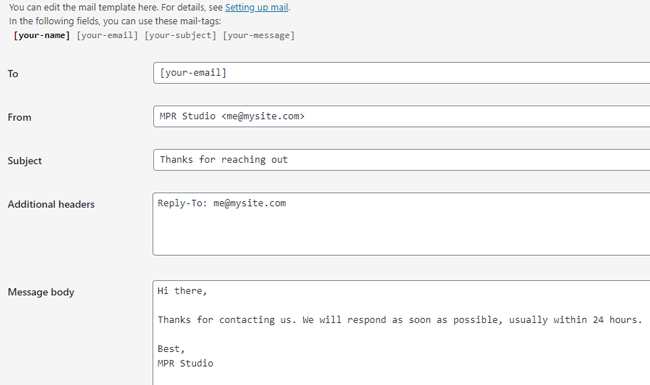
- To – In this case, you want to use the email address of the person who submitted the form. Simply enter the shortcode that you used for the email field in your form above.
- From – Enter your email address and company name if you want people to be able to respond to you BEFORE you respond to them. If you want, you can use a noreply email address (e.g. [email protected]).
- Subject – A simple thank you works well.
- Additional headers – In this area, you can include a Reply-To address if want people to write you back at a different email address than you entered in the From field.
If you know some HTML, then you can customize your autoresponder and add your logo or headshot. You can also use an online HTML signature generator to personalize your autoresponder.
Frequently Asked Questions
How should I troubleshoot problems with my contact forms?
Is it possible to create a multi-step form with Contact Form 7?
How do I redirect to a thank you page upon successful form submission?
How can I help reduce spam contact form submissions?
Conclusion
It’s super important that you make it easy for people to get in touch with you through your website. Contact Form 7 is a great, free and highly-customizable plugin that makes setting up a contact form super easy. Hopefully this tutorial has helped you install and configure it for your WordPress website.
If you found this post helpful, please share it and spread the word!
Want more like this? Sign up for my newsletter to receive helpful WordPress Tutorials, Tips and Tricks.

